As a video editor, you’ve probably spent hours of your precious time doing redundant tasks. You set up project files, organize timelines, and click hundreds of buttons to do that one action. This takes your mind away from what’s most important- telling a good story. Well here are some tips on how to edit efficiently.
Being an efficient video editor is important for many reasons. The most important reason is the time savings. Clients love it because they get quick turnaround times. No more waiting weeks and weeks for the next revisions. It’s also good for video editors because they are able to fit in more projects into their busy schedules.
Efficient video editing isn’t all about saving time though. The best thing efficiently gives is a stronger focus on the things that matter. You don’t worry about how to do a certain action, you can focus on what would be the best thing for the story. You start to care about the “why†of video editing and not the “howâ€.
Here’s a quick video I made that summarizes the blog post:
The right hardware
As a video editor myself, I want my tools to get out of my way. They need to be invisible. Almost like they are an extension of my body. (I can’t stop hearing the song “Heads, Shoulders, Knees and Toes…and a keyboard….and a mouse).
Switching from a standard mouse to a crazy-mouse-with-lots-of-buttons (that’s the technical name for it) was probably the single best thing I have done to increase my productivity.
It sounds like I’m overreacting, but I’m not. You might ask “How can a mouse help that much.†Good question. The efficiently comes in the fact that I never have to lift my hand off the keyboard or mouse. I keep on hand on the keyboard (the J-K-L section) and one hand on the mouse. From this position, I can do pretty much anything I want.
I’ll break it down.
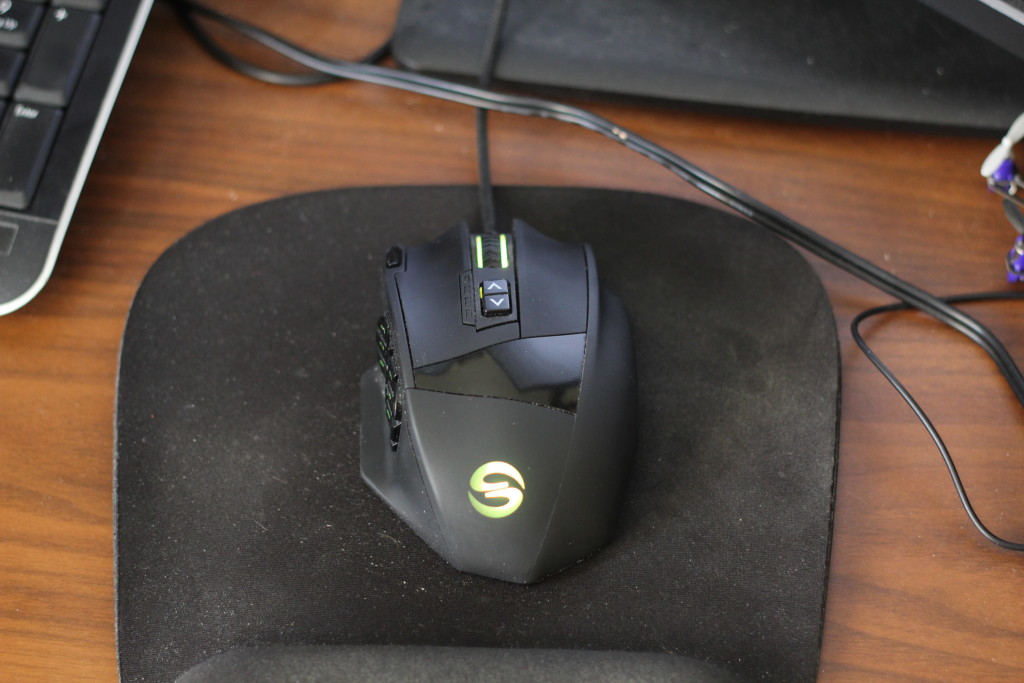
My favorite mouse to use for video editing.
My mouse has 17+ buttons on it. Buttons 1-12 are on the side of the mouse and I have them programmed to do various things. These buttons are mainly common functions- Enter, Copy, Paste- but they also include some more interesting ones like a shortcut for Adobe Premiere that automatically syncs audio/video files together and the “-/+†symbol that zoom the timeline in and out.
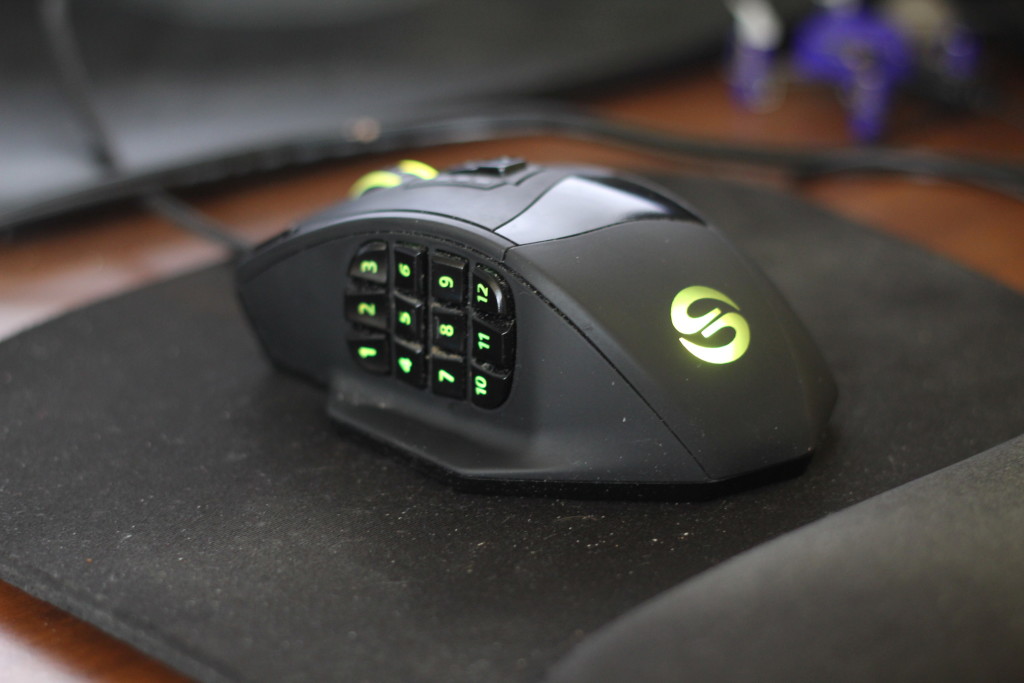
So many buttons I can program!
The button also has a great “trigger†button. The original use of this button is for a gamer to have a dedicated trigger button for different weapons. I’m not a gamer, but I do “shoot†down clips in the form of deleting them (Okay, I’m sorry, that was a terrible pun). The delete key is something I use constantly and this trigger button gets me quick access to it.
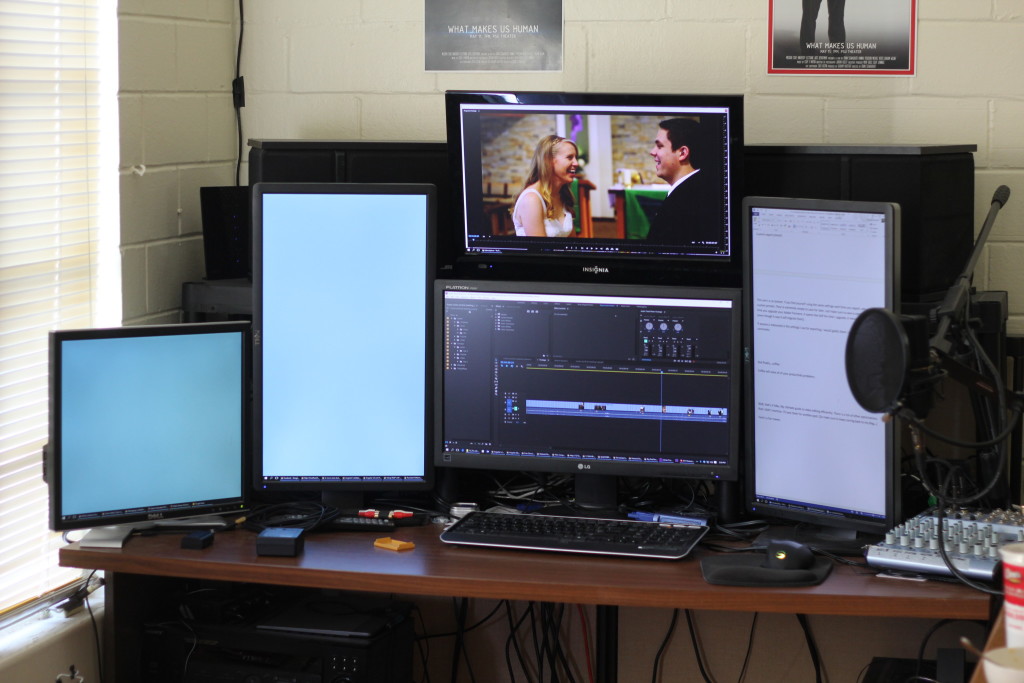
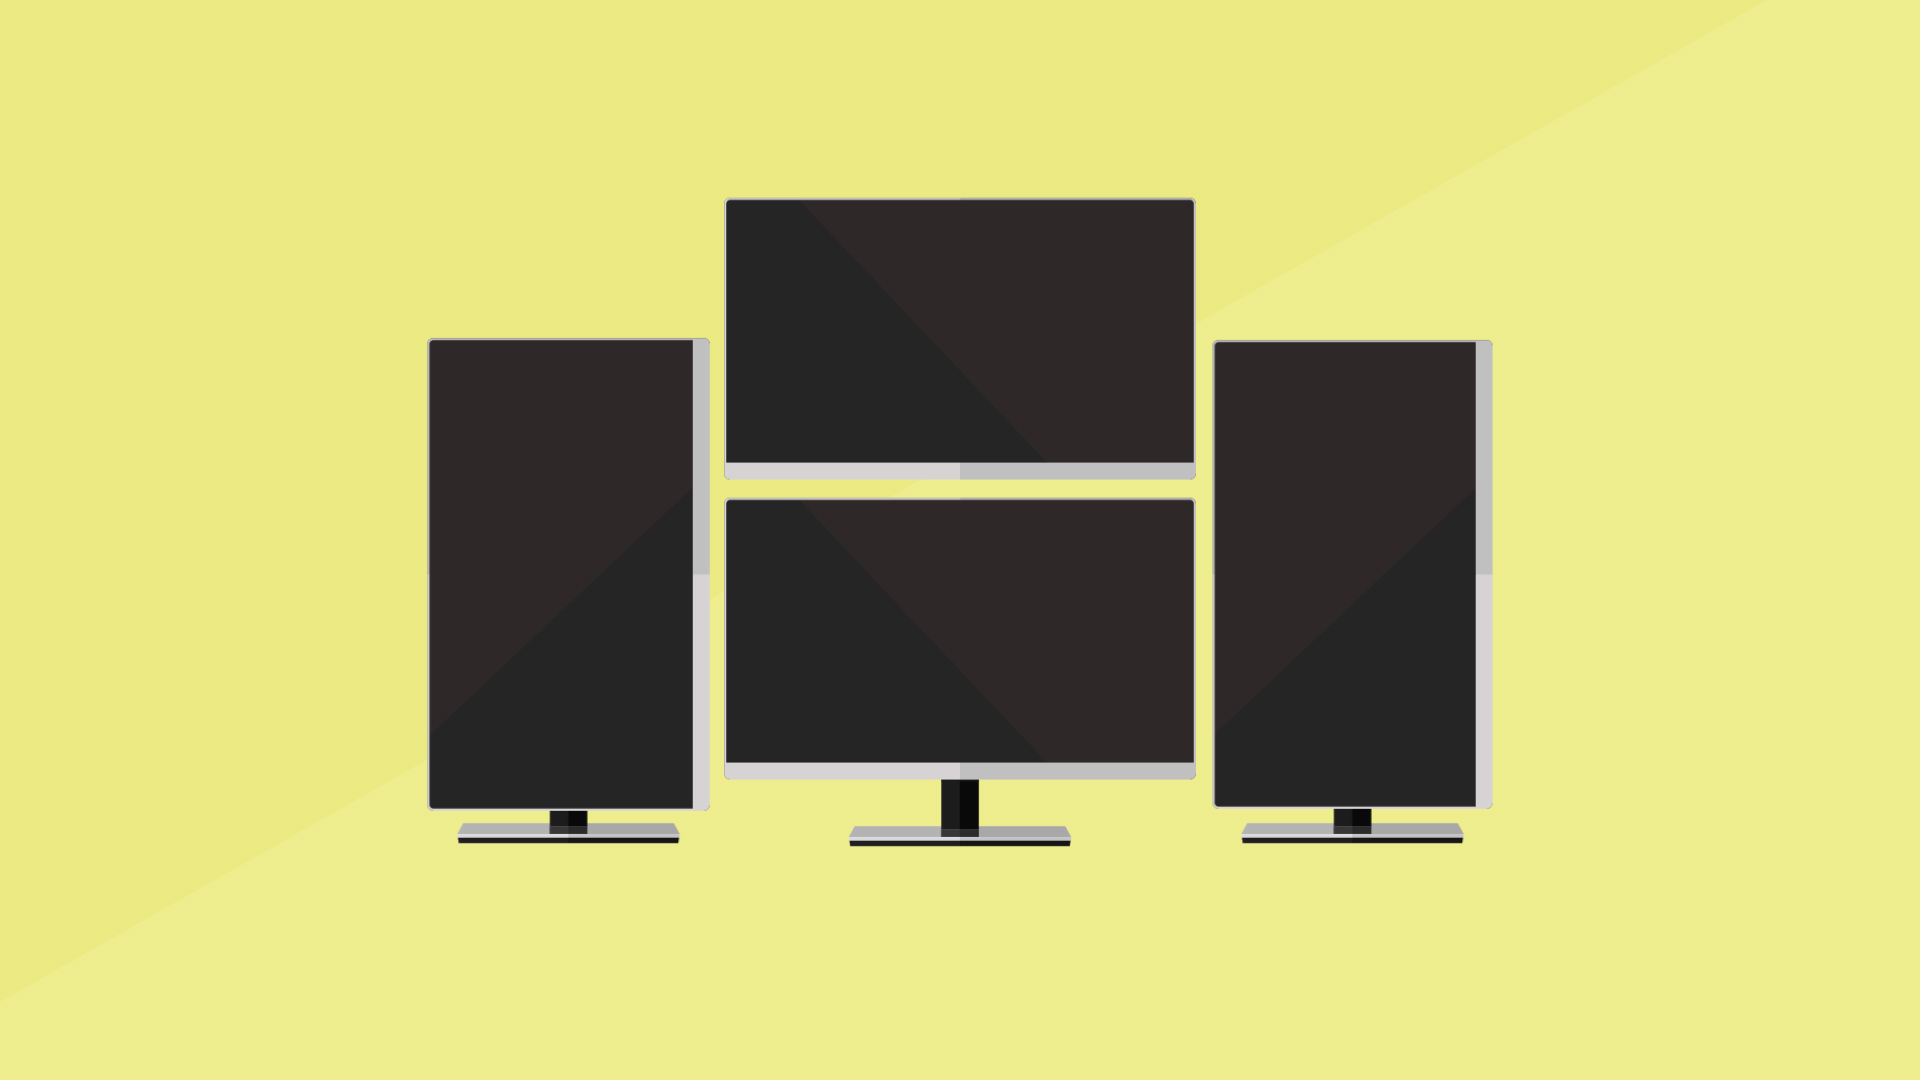
The setup for my video editing station- complete with five monitors.
Monitors galore
It seems like every year, I have added a monitor to my setup. I started with one but thought “wouldn’t it be nice to have a separate monitor for my video output.†So I ended up adding one. And then another. And then another another. Pretty soon, I had five monitors. I’m not sure when I’ll add the next one…
For some people, five monitors is overkill. For me, it’s perfect.

I love monitors…
I use one monitor for the main timeline, effects, audio levels, etc. I use another one for the video output. Another one is for organizing my media files in bins. Sometimes I use another one for looking at waveforms, vector scopes and other color correction windows. And finally I have a dedicated monitor to all things internet (How can I live without Facebook always in the corner of my eye!).
The great thing about this setup is that it is versatile. I do a lot of programming and animation that both require vastly different arrangements of windows. To make matters worse, sometimes I’m working on two projects at the same time- one video editing project, and one web design/coding project. By having multiple monitors I can quickly switch between work with minimal delay.
So go ahead, make fun of me for having too many monitors. Once you try it though, you’ll never want to go back.
Keyboard shortcuts
There is no way I can write a guide to efficient video editing without talking about shortcuts. They are extremely important. I’m guessing you already know that, so I won’t bore you with my ramblings.
Here are my favorite short cuts (for Adobe Premiere)
- Playback shortcuts (J-K-L)– These are definitely the most important. L will play, K will pause, and J will play in reverse. What you might not know is that you can tap “L†multiple times and it will play faster (same thing applies to J). If you hold K and tap L, it will go one frame at a time.
- Timeline navigation– If you hit the “+“ or “-†symbol, it will zoom the timeline in and out so you can see more or less clips. I have this mapped to my mouse which makes it even faster.
- Splitting clips– Adobe Premiere’s default for splitting a clip is inconvenient. Ctrl + K is not very easy to get with one hand. So instead, I map “p†to be my split clip shortcut. This works great because it is right by my J-K-L buttons and I never use the pen function which is the normal shortcut for “p†(I think…).
- Ripple trip– You might be thinking “?????â€. Ripple trim is probably the single most underrated shortcut. No one uses it. But everyone should. It cuts the clip before/after where the play head is and ripples the rest of the clips. It’s tough to explain it. You’ll just have to try it. I changed the shortcut to be the “;†key. (If you want to change it yourself, search for “Ripple Trim Previous Edit to Playhead†in the keyboard shortcuts menu)
- Select clip– This shortcut will select the clip that is under the playhead. I changed the shortcut to be the “[“ key. As a bonus, I made it so that pressing “Ctrl + [“ was a ripple delete. They work really well together.
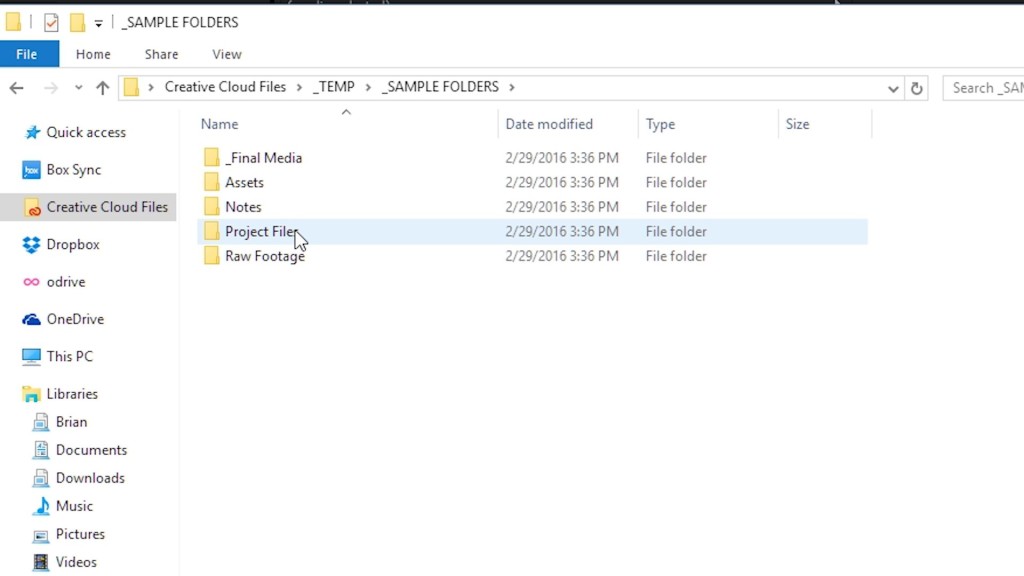
The folder structure I like to use for all of my projects
“Sample†project files
Instead of starting each project from scratch, why not create “sample†project files.†It’s simple- you create a project, add all the bins that you usually use, create a timeline for your most common setup, and add any effects and presets you need. Then you close this project.
Every time you start a new project, you just copy this sample project file and get started. All of those same tasks you do every time are now already done. I also do this with folders- which I talk about in another one of my blogs about staying organized.
Custom export presets
This one’s a no-brainer. If you find yourself using the same settings each time you export, why not create custom presets. They’re extremely simple to save for later. Just make sure to save a copy of them each time you upgrade your Adobe Premiere. It seems like half the time I upgrade, it messes up my settings (even though it says it will migrate them).
If anyone is interested in the settings I use for exporting, I would gladly share. Let me know in the comments.
And finally….coffee.
Coffee will solve all of your productivity problems.
Well, that’s it folks. My ultimate guide to video editing efficiently. There is a ton of other optimizations that I didn’t mention. I’ll save them for another post. (So make sure to keep coming back to my blog…)
Here’s a fun meme.