
360 degree video lately has taken the internet by storm. With exciting new VR technologies on the horizon and brand new 360 degree cameras, everyone wants to experiment with this new medium. This makes me think- is it really a new medium?
At the risk of sounding like a hipster, I made a 360 degree video before it was cool. A couple of years ago, I worked on a project called “NODEâ€- an experimental short film that uses video from 4 GoPros stitched together to create an interactive 360 panoramic video. NOTE- When I say experimental, I really mean experimental. We wanted to leave the meaning up to the viewer.
At the time, it was relatively new concept. And consequently, there were not many resources out there for us to make it happen. There weren’t 360 degree cameras, youtube/facebook couldn’t play 360 degree videos, and there wasn’t great software for stitching footage together. So we had to pioneer a couple of solutions!
Check out how we pulled it off below. But first, watch the film in my custom web interface!
NOTE- You must use Google Chrome to watch it using my custom interface. At the time of designing it, Chrome was the only browser capable of pulling off 360 degree video.
If you want to see what it looks like on youtube, here it is. Youtube doesn’t have all of the functionality that my custom player has because I can’t force the user to look at certain parts like I can on my custom player.
Pre-Production- Developing the Idea
It all starts with the idea. My team was challenged to create something different. Something unique. We had made a bunch of short films before, but now it was time stretch ourselves creatively. No more rule-of-thirds, 180 degree rule, 3-point lighting, {insert film jargon here}… The world of filmmaking was now our playground.
…And so we researched. A lot. Was 360 degree video even possible? How do you film it? How do you show it? It turns out, it’s not an easy feat. Regular 360 degree panoramas for still cameras was quite common. It’s not too hard to take pictures from different angles and stitch them together in photoshop. In fact, even most phones will do it for you. Video is a different story. At any given moment, you have to have cameras pointing in all directions. And then there’s the problem of stitching them together.
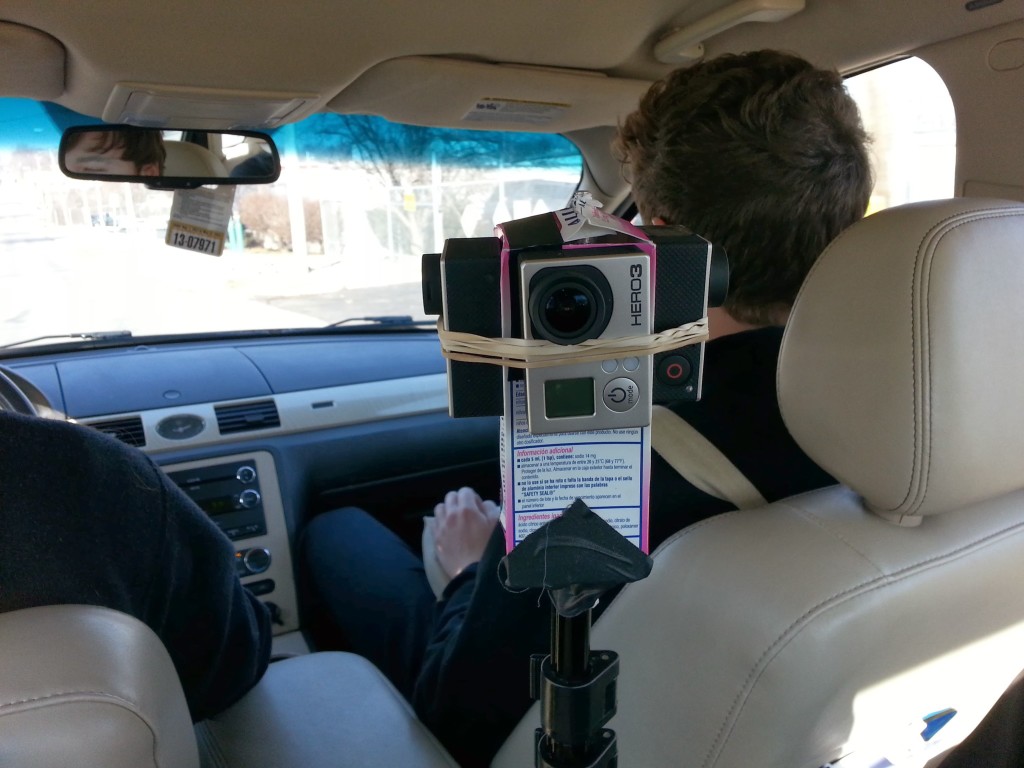
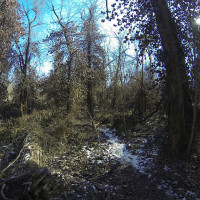
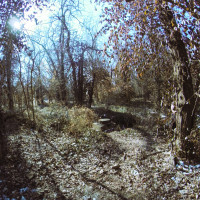
Our sketchy-but-functional camera setup
After getting exhausted from research. We decided to just go for it. We had four GoPros rubber-banded to a tooth paste box (It ended up being the perfect size) and stuck the tooth paste box on a C-stand. Then we threw some plastic wrap over it to protect the cameras from the flour we would be throwing at it.
It’s definitely not the most professional setup, but it got the job done. We couldn’t use the GoPro’s water case because they were too big. To get the proper stitching to work, the cameras had to be touching exactly at each corner- they couldn’t have any gaps or there would be gaps in the footage.
We also decided to use only 4 GoPros instead of 6, which is required for the top and bottom of the sphere. Having a top and bottom wasn’t important to the story and we didn’t want to have to stitch more video together.
Production- Filming the Scenes
Panoramic video has an interesting problem- If a user is able to look around the scene, what will they be looking at? In my opinion, you can go two routes:
- Fill the scene with a bunch of interesting content. Wherever the audience is looking, there is something that will grab their attention. This route is intriguing, but it would be hard to tell a narrative story when you don’t direct the attention to a specific part.
- Pick a subject that sticks out in the scene and have them direct you through the scene. This way the audience is following the narrative but also has the freedom to deviate from the path. This is the route that we took.
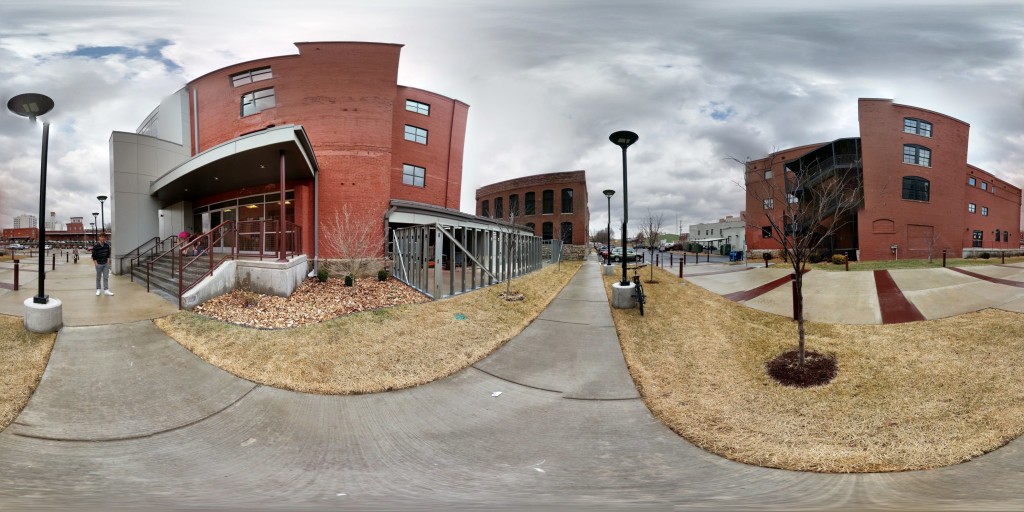
A test shot of the panoramic features in photoshop. Aren’t they cool looking?
Once we had an idea of what we wanted our audience to look at, we had to figure out a way to keep the audience interested. If the viewer is supposed to be looking at one static part of the film, chances are they will get bored and start looking away from the action. To combat this, we had our subject move around the scene- It would direct the viewer where to look while keeping the freedom of looking where they wanted. It’s a mix of narrative filmmaking and interactive filmmaking.
For anyone reading this that is thinking of making their own 360 degree video, here are some production tips-
- There are weird artifacts when objects get close to the cameras. The closer something is, the more likely it will overlap across multiple cameras. This can cause some weird gaps/artifacts.
- Make sure the cameras you use are as wide as possible. The more the footage overlaps, the easier it is to stitch the footage together.
- Make sure all of the cameras have the exact same settings- white balance, frame rate, etc.
Post-Production- Putting it Together
After I got all of the footage, I had to figure out how to stitch all of the files together. If you’re not really a techie-type then you might want to skip this section.
-
- Camera 1
-
- Camera 2
-
- Camera 3
-
- Camera 4
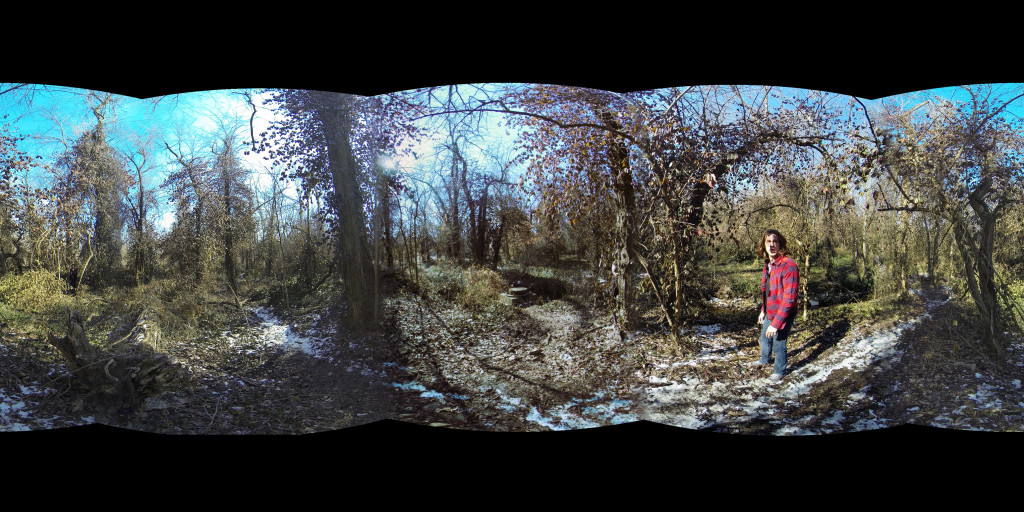
All of the camera angles stitched together
- First, I batch renamed all of the files in Adobe Bridge. I do this with all my footage. It’s easy and makes the work flow much easier.
- Next, I converted all of the video files into individual PNG files using Adobe After Effects. It’s not too hard of a process- just syncing the videos and exporting as image sequences.
- I then took the thousands of picture files and used a batch process in Photoshop to frame-by-frame stitch the files together. It took an incredibly long time.
- I now had hundreds of stitched together panoramas that I could sequence back into a video file.
It was a massive process that took a long time to get right. Photoshop kept failing, my computer would crash, and pretty much every other issue came up. But finally, I had my stitched together 360 degree video.
Delivery- Coding the Web Interface
The custom web interface was probably the hardest part of the project. It’s not like today where you can just upload a 360 degree video to youtube and it will figure out everything else for you. I had to manually code everything.
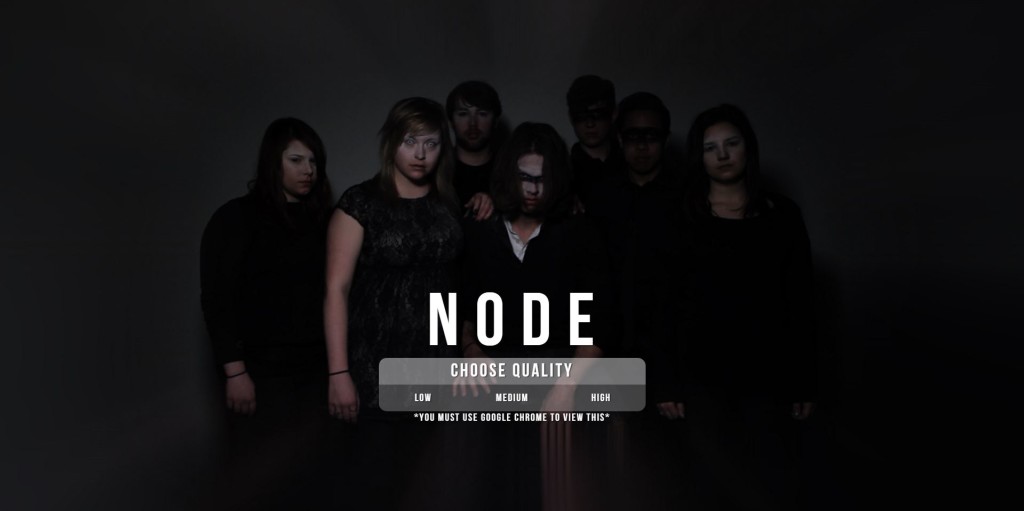
A snapshot of the custom web interface
For you non-techies, this is the process:
The program creates a virtual 3D camera inside of a sphere. On the inside walls of the sphere, the 360 degree is projected. By hitting an arrow key, it tells the camera to rotate a certain direction- which is how you can look around the room.
For you tech-lovers, here is the process:
It uses WebGL (thus only working on Google Chrome) and three.js to create a virtual 3D environment. With three.js you can create 3D objects, so I created a 3D sphere with the 360 video as a material on the sphere. There’s a camera on the inside that is controlled by the mouse and arrow keys. The up and down arrow keys control the field of view so the viewer can zoom in.
There are parts in the video where I wanted to direct the viewer to a specific part of the sphere. So at certain time frames, the keyboard is disabled and the camera calculates how to smoothly get to the target location and FOV within a certain time frame. I added a bunch of easing to make the movements feel more natural.
To make the project feel more film-like, I wanted it to be in a 2.35 aspect ratio. It’s actually surprisingly tough to make a letterbox on the whole web page to force a specific aspect ratio. Basically I ended up using CSS to overlay the black bars with the perfect size.
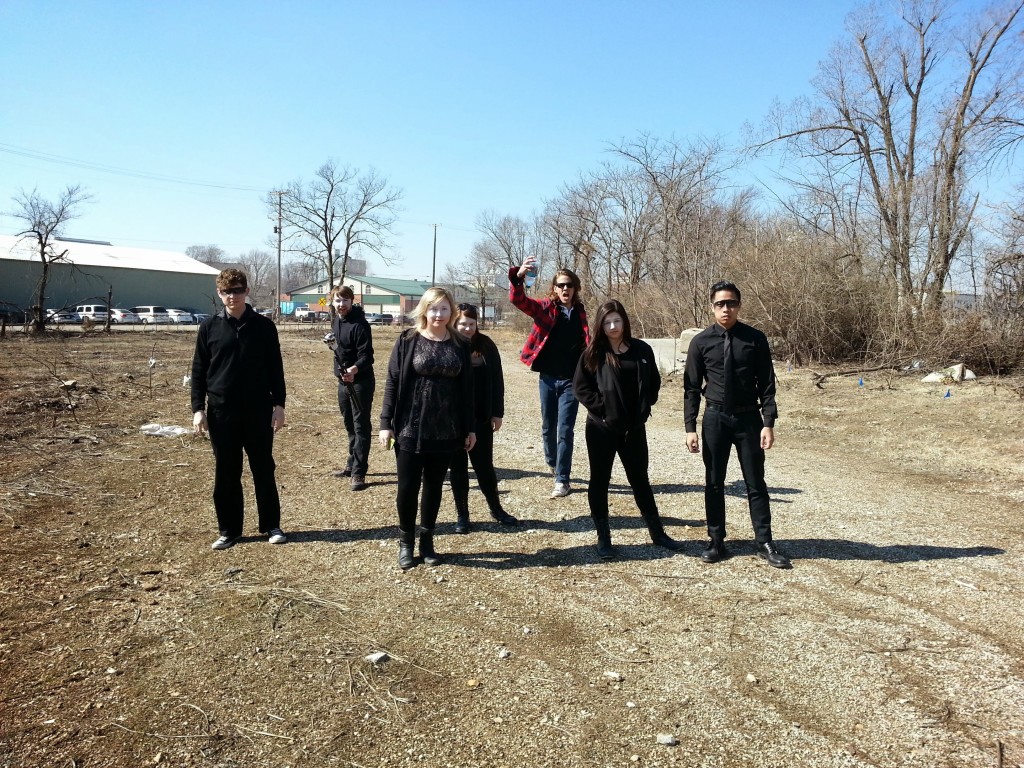
The cast and crew for the project
Conclusion
Creating a 360 degree interactive video was a massive undertaking. It took weeks of planning, and many hours of coding. It was a fun experiment of new technologies that I’ll never forget. I’m not 100% convinced that the industry is going to adopt 360 degree video, but it sure is fun to play with!
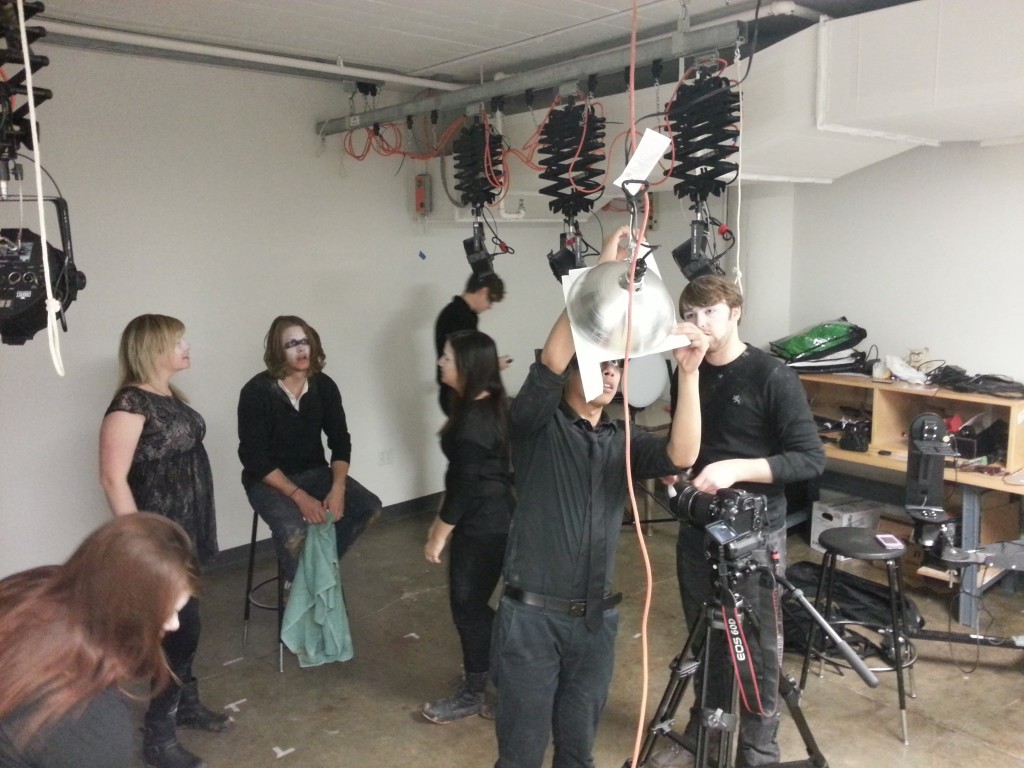
Here’s a behind the scenes look at the ending of the film